Okay, let me break down how I tackled learning that “Still Beating” riff today. Heard it on the radio again, thought, “Man, that guitar line sticks,” and figured, why not give it a shot?
Getting Geared Up
Grabbed my trusty acoustic first thing this morning. Didn’t even plug in, just wanted to hear the basic chords clean. Pulled up a quick tutorial search on my phone, avoided the super long ones, focused on finding a “beginner” breakdown.
The “Oh, That’s It?” Moment
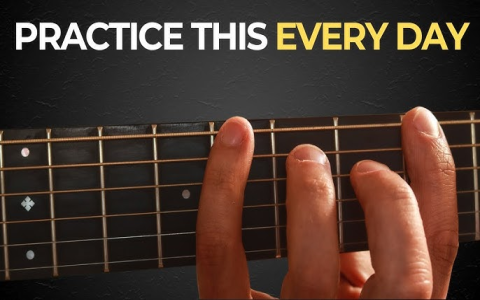
Started watching and immediately realized the main riff everyone loves is basically just two chords sliding around. I swear I laughed out loud. Here I was thinking it was gonna be some finger-buster. The tabs showed it centered around a C# minor shape (played like A minor but slid up) and then moving to another shape right next to it. Sounded fancy, looked simple.
First Try & Finger Fumbles
Put my fingers down on the fretboard to mimic the first chord shape… ouch. Getting that barre across the 4th fret cleanly felt stiff first thing in the AM. My pinky wasn’t cooperating landing on the right string. Sound was buzzy and weak. Messed around with finger pressure, found I had to really clamp down harder than I thought with my index finger, but relax the other fingers more. Took like five minutes just to get a clean squeeze sound for that first chord.
The Slide Transition Struggle
The magic is in moving from that first C#m shape to the next one. The tutorial showed a slide down two frets on the G string with the ring finger while keeping the rest of the hand sort of settled. My first attempts sounded like a dying cat. Squeaky strings, not smooth. I practiced just the slide motion without the chord for a bit: press down on the 4th fret, G string, and physically slide it down to the 2nd fret, listening for a smooth sound. Felt awkward, kept accidentally touching other strings. Took another good five minutes of repetitive slides before it started feeling less like dragging a brick.
Stitching it Together (Sloooowly)
Finally tried putting the chord and slide together. Smush fingers into C#m shape, strum… hold it… then slide just that one finger down. Rinse and repeat. So. Incredibly. Slow. But it was recognizable! The rhythm felt weird at first. Counted it out: “One-and-Two-and-Three-and-Four-and…” Found it really helped to stomp my foot like a metronome, painfully slow at 60bpm maybe. Played those two chords back and forth, back and forth, focusing only on the switch between them.
Adding the Groove & The Win
Once the basic slide between chords got less clunky, I started paying attention to the actual rhythm of the riff. It’s not straight strumming – it’s kinda bouncy and syncopated. Listened to the song snippet again and tried mimicking the feel: a down-strum on the main chord, then a little flicking “up” strum during the slide movement. That changed everything! Suddenly it wasn’t just chords; it had that little skip the song has. Played the whole riff pattern a few times, still slow but way closer. Ended by playing it ten times in a row without messing up (too badly). Big win!
Quick Summary for Anyone Trying
- Find that C# minor shape barred at the 4th fret.
- Focus on getting it to sound clean before moving.
- Practice the slide down to the 2nd fret on the G string until it’s smooth, not scratchy.
- Put it together SUPER SLOW: Chord, strum, slide.
- Add the bouncy strum pattern (down, then up) to make it groove.
- Don’t rush it! Muscle memory takes repetition.
Seriously, felt awesome unlocking that riff by lunchtime. Way less complicated than I feared. Just takes breaking it down piece by piece and not being afraid to sound terrible at first. You got this!